What is Traditional Upholstery?
Traditional upholstery refers to methods and materials used in upholstery before the 1950’s. Padded seats were made from a variety of natural materials including horse hair, coconut fiber (coir), Spanish moss and hay. These materials were covered with a layer of loosely woven linen or burlap and hand stitched into place, requiring a great amount of time and skill. The result is a firm, sculptural shape that is impossible to replicate with foam. This method of upholstery produced furniture that could last centuries if cared for properly. At Coe Design Studio we focus on these highly skilled upholstery methods. We repair and faithfully restore furniture using the same time tested materials and techniques.
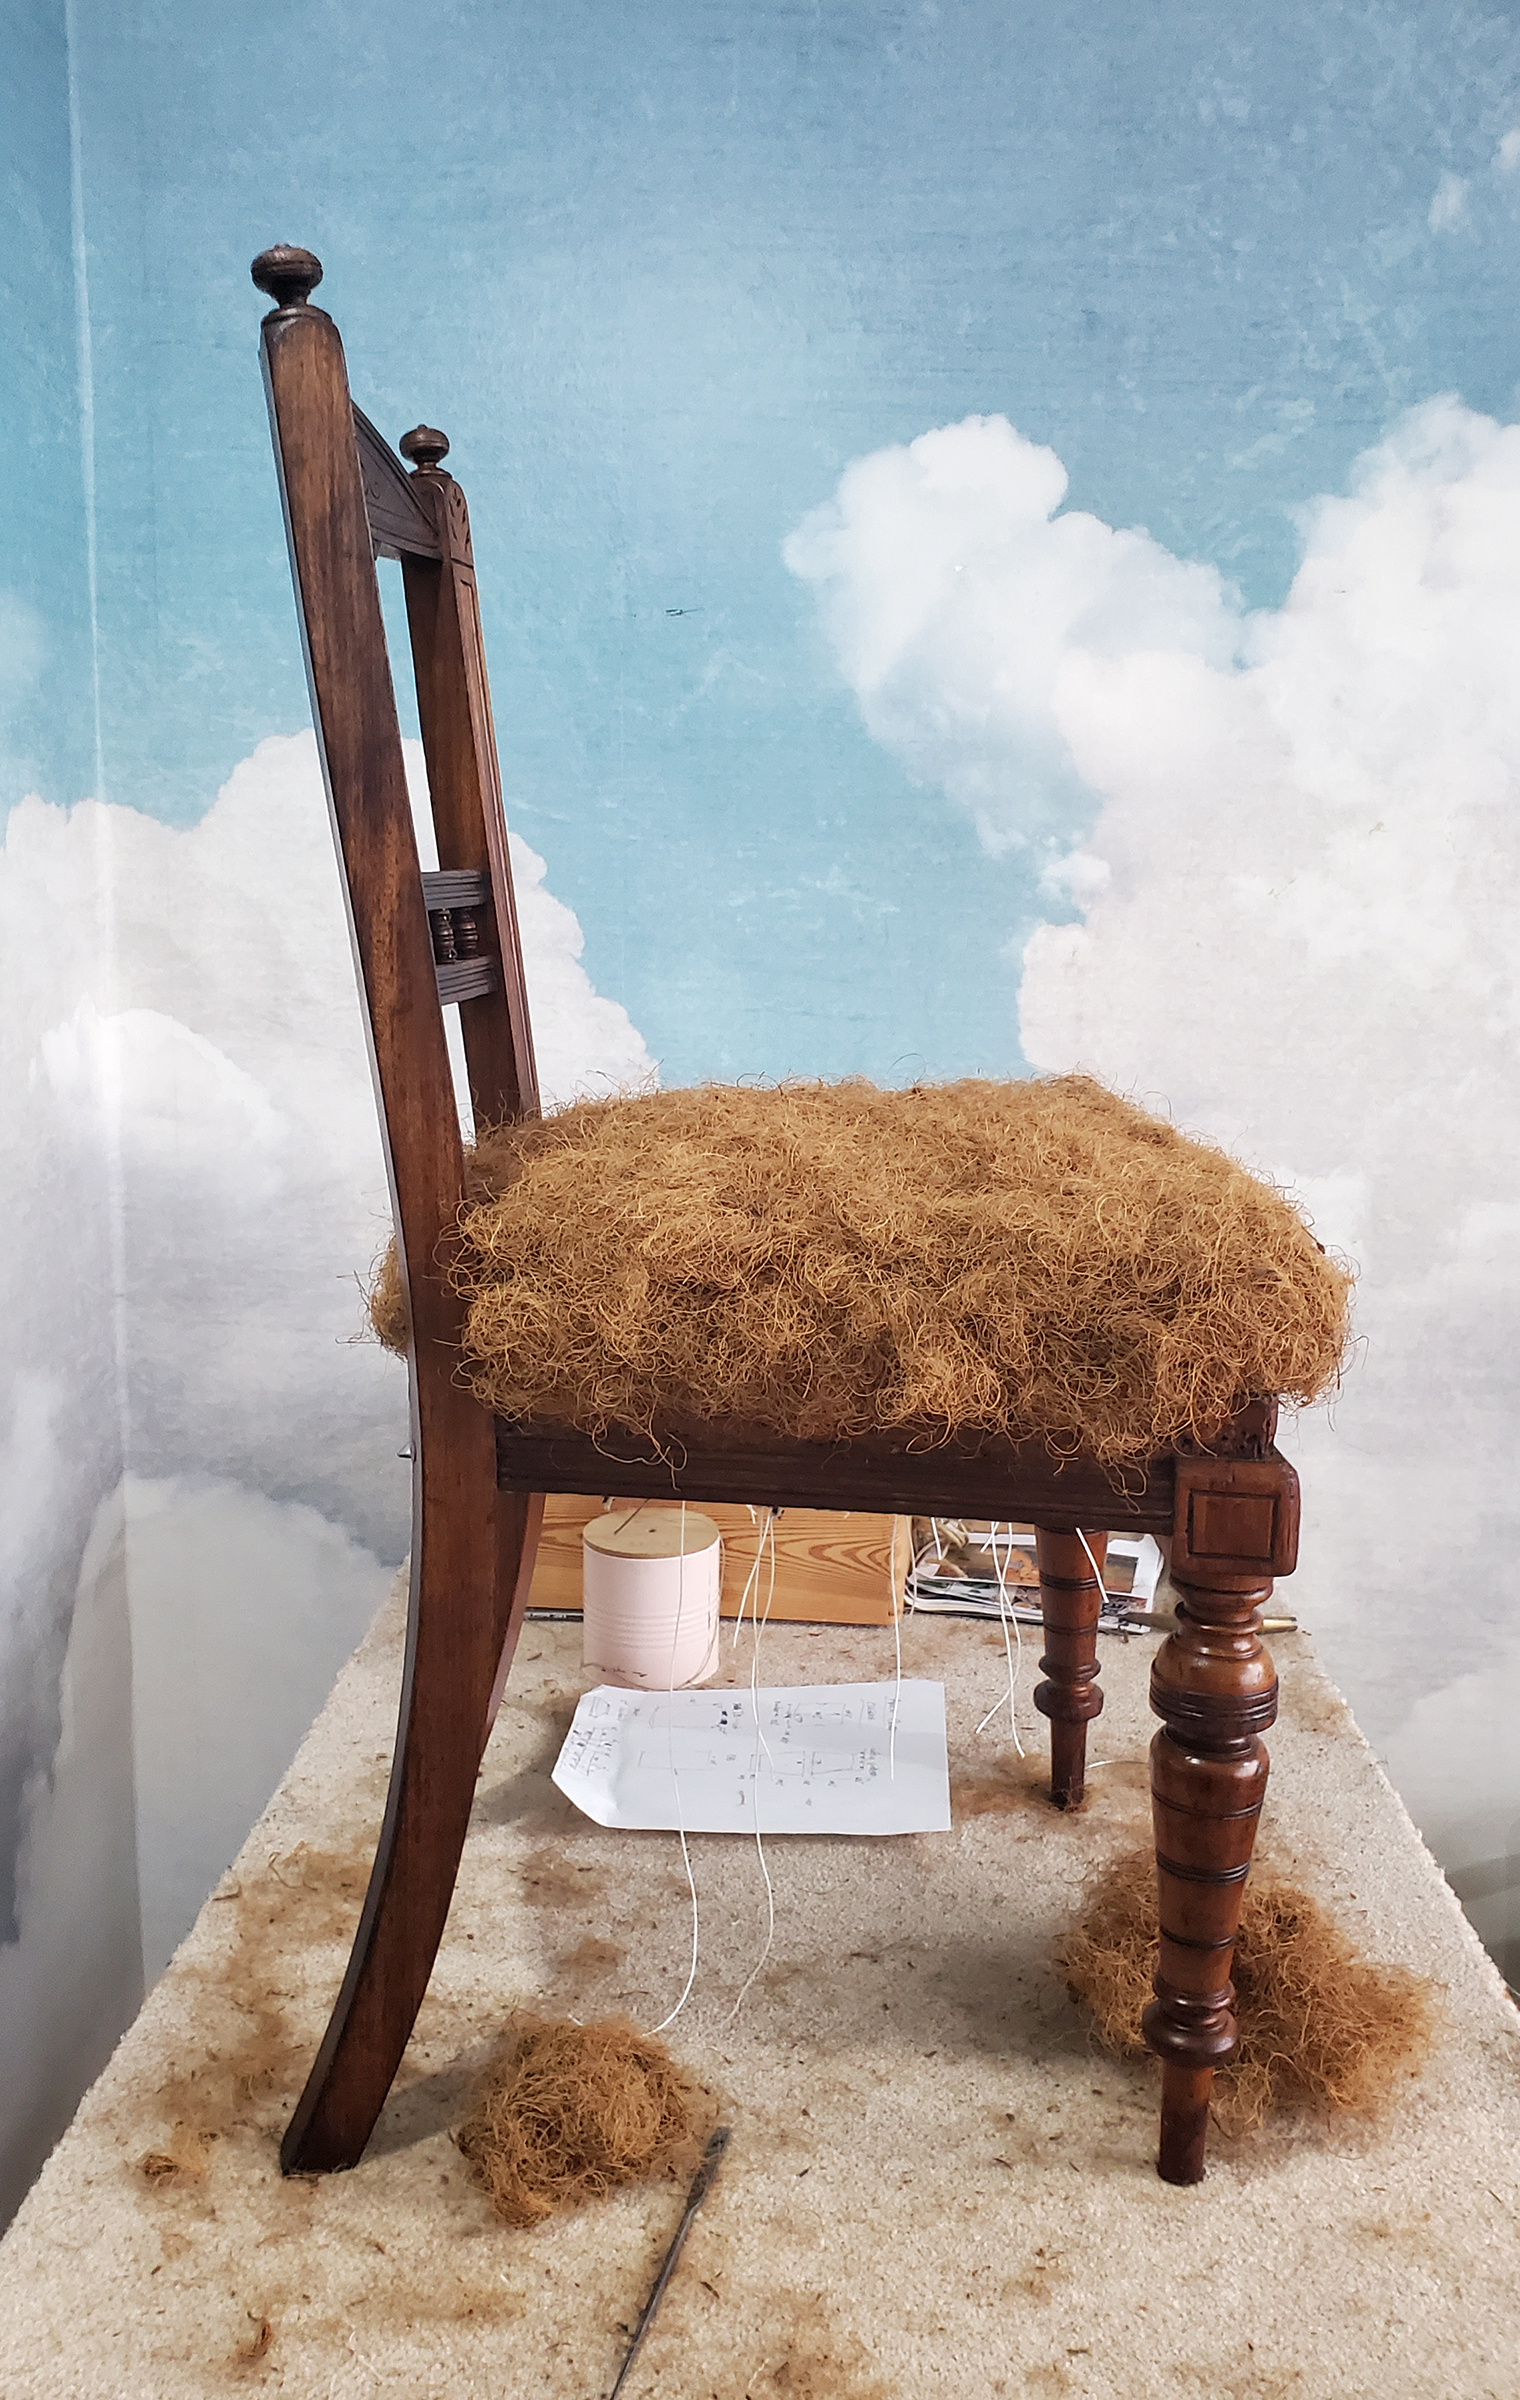
An example of an early 20th century chair being restored with loose coir.
Steps to a Full Rebuild
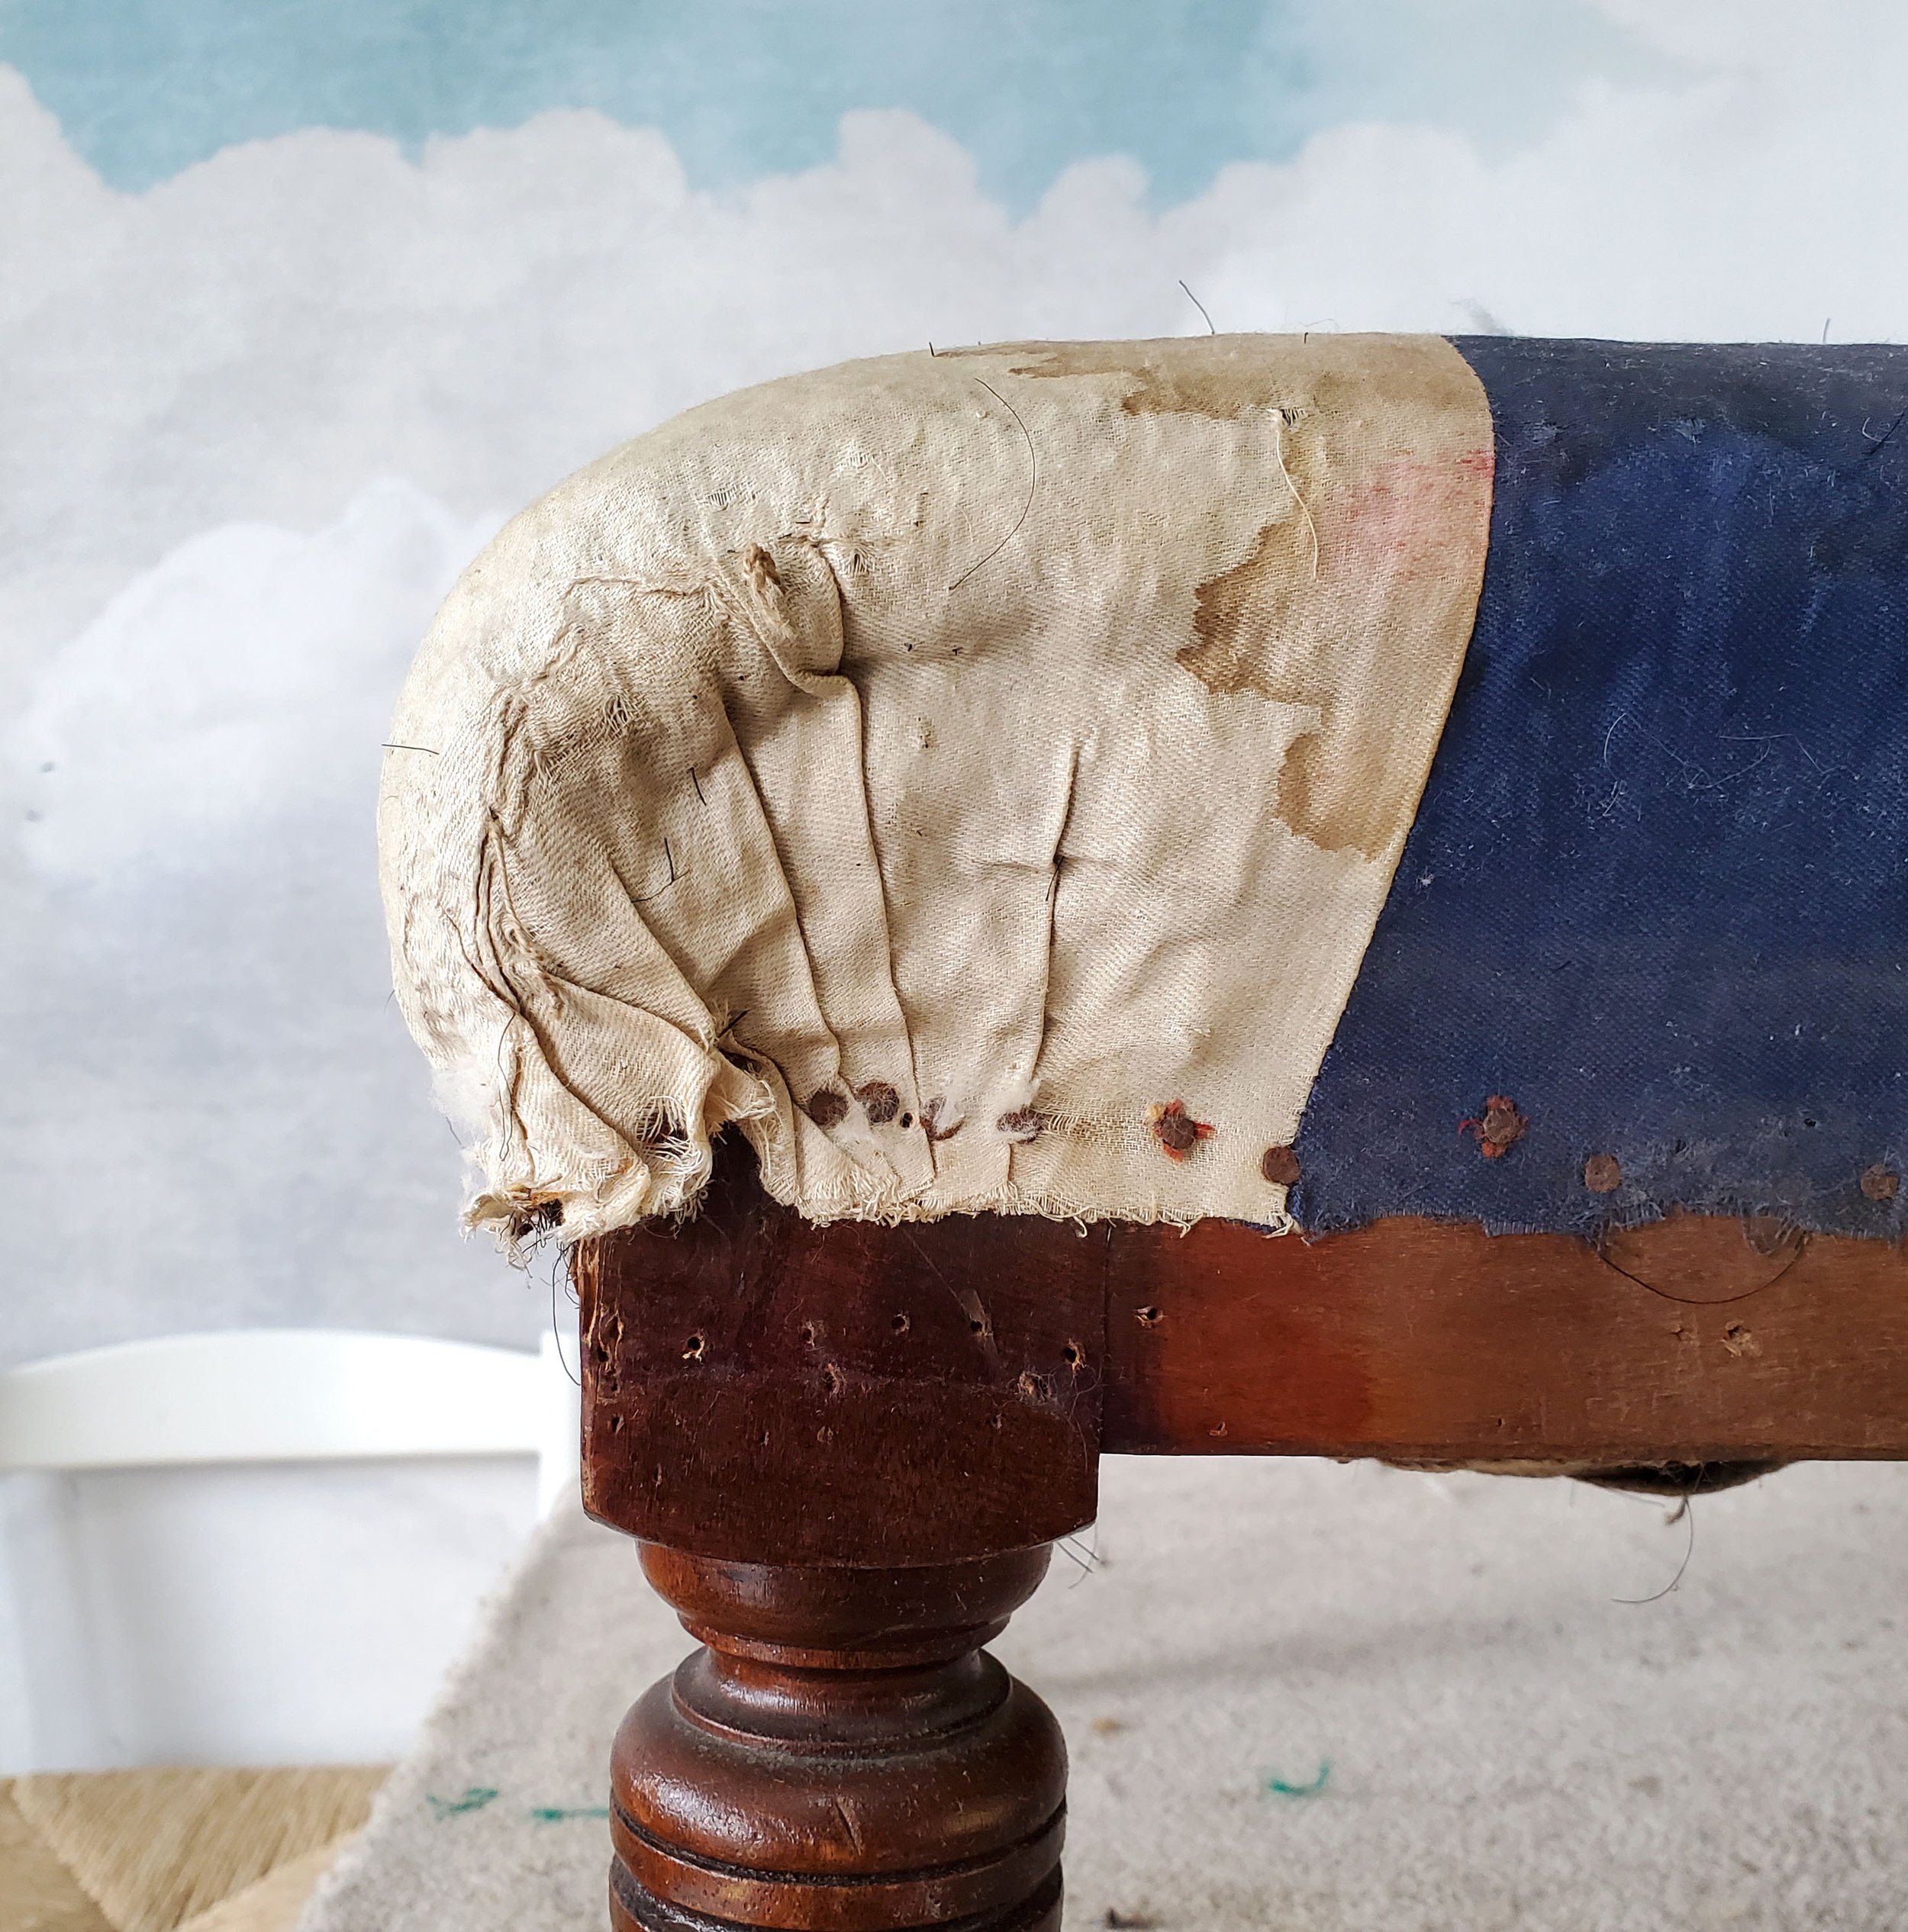
1. Gather Information. Knowing where and when a piece of furniture was made can help to faithfully restore it. Clues can come from the type of wood, finish, tack holes, and the amount of wear to the frame. Sometimes original pieces of upholstery are preserved beneath the layers which can help to date the piece. Upholstered furniture made before the 1950’s is designed to be stuffed with hair or fiber filling, but has sometimes been removed and replaced with foam in a later reupholstery job.
2. Break down. Remove the layers starting with the top fabric working all the way down to the bare frame. Leave historical or salvageable materials to the side with labels. Good quality horse hair can almost always be washed, fluffed, and re-stuffed in the same piece. The upholstery shop beneath the US Capitol routinely does this to historic seating with the help of their 1950s hair picking machine.
3. Frame repair. Once the frame is completely bare, any loose joints are clamped and glued. At Coe Design Studio we are able to identify the finish, strip, and re-apply a shellac or oil rub. In most cases the finish only requires some touch up and reviving. A fresh coat of wax is applied to protect the finish and give the piece a gentle shine.
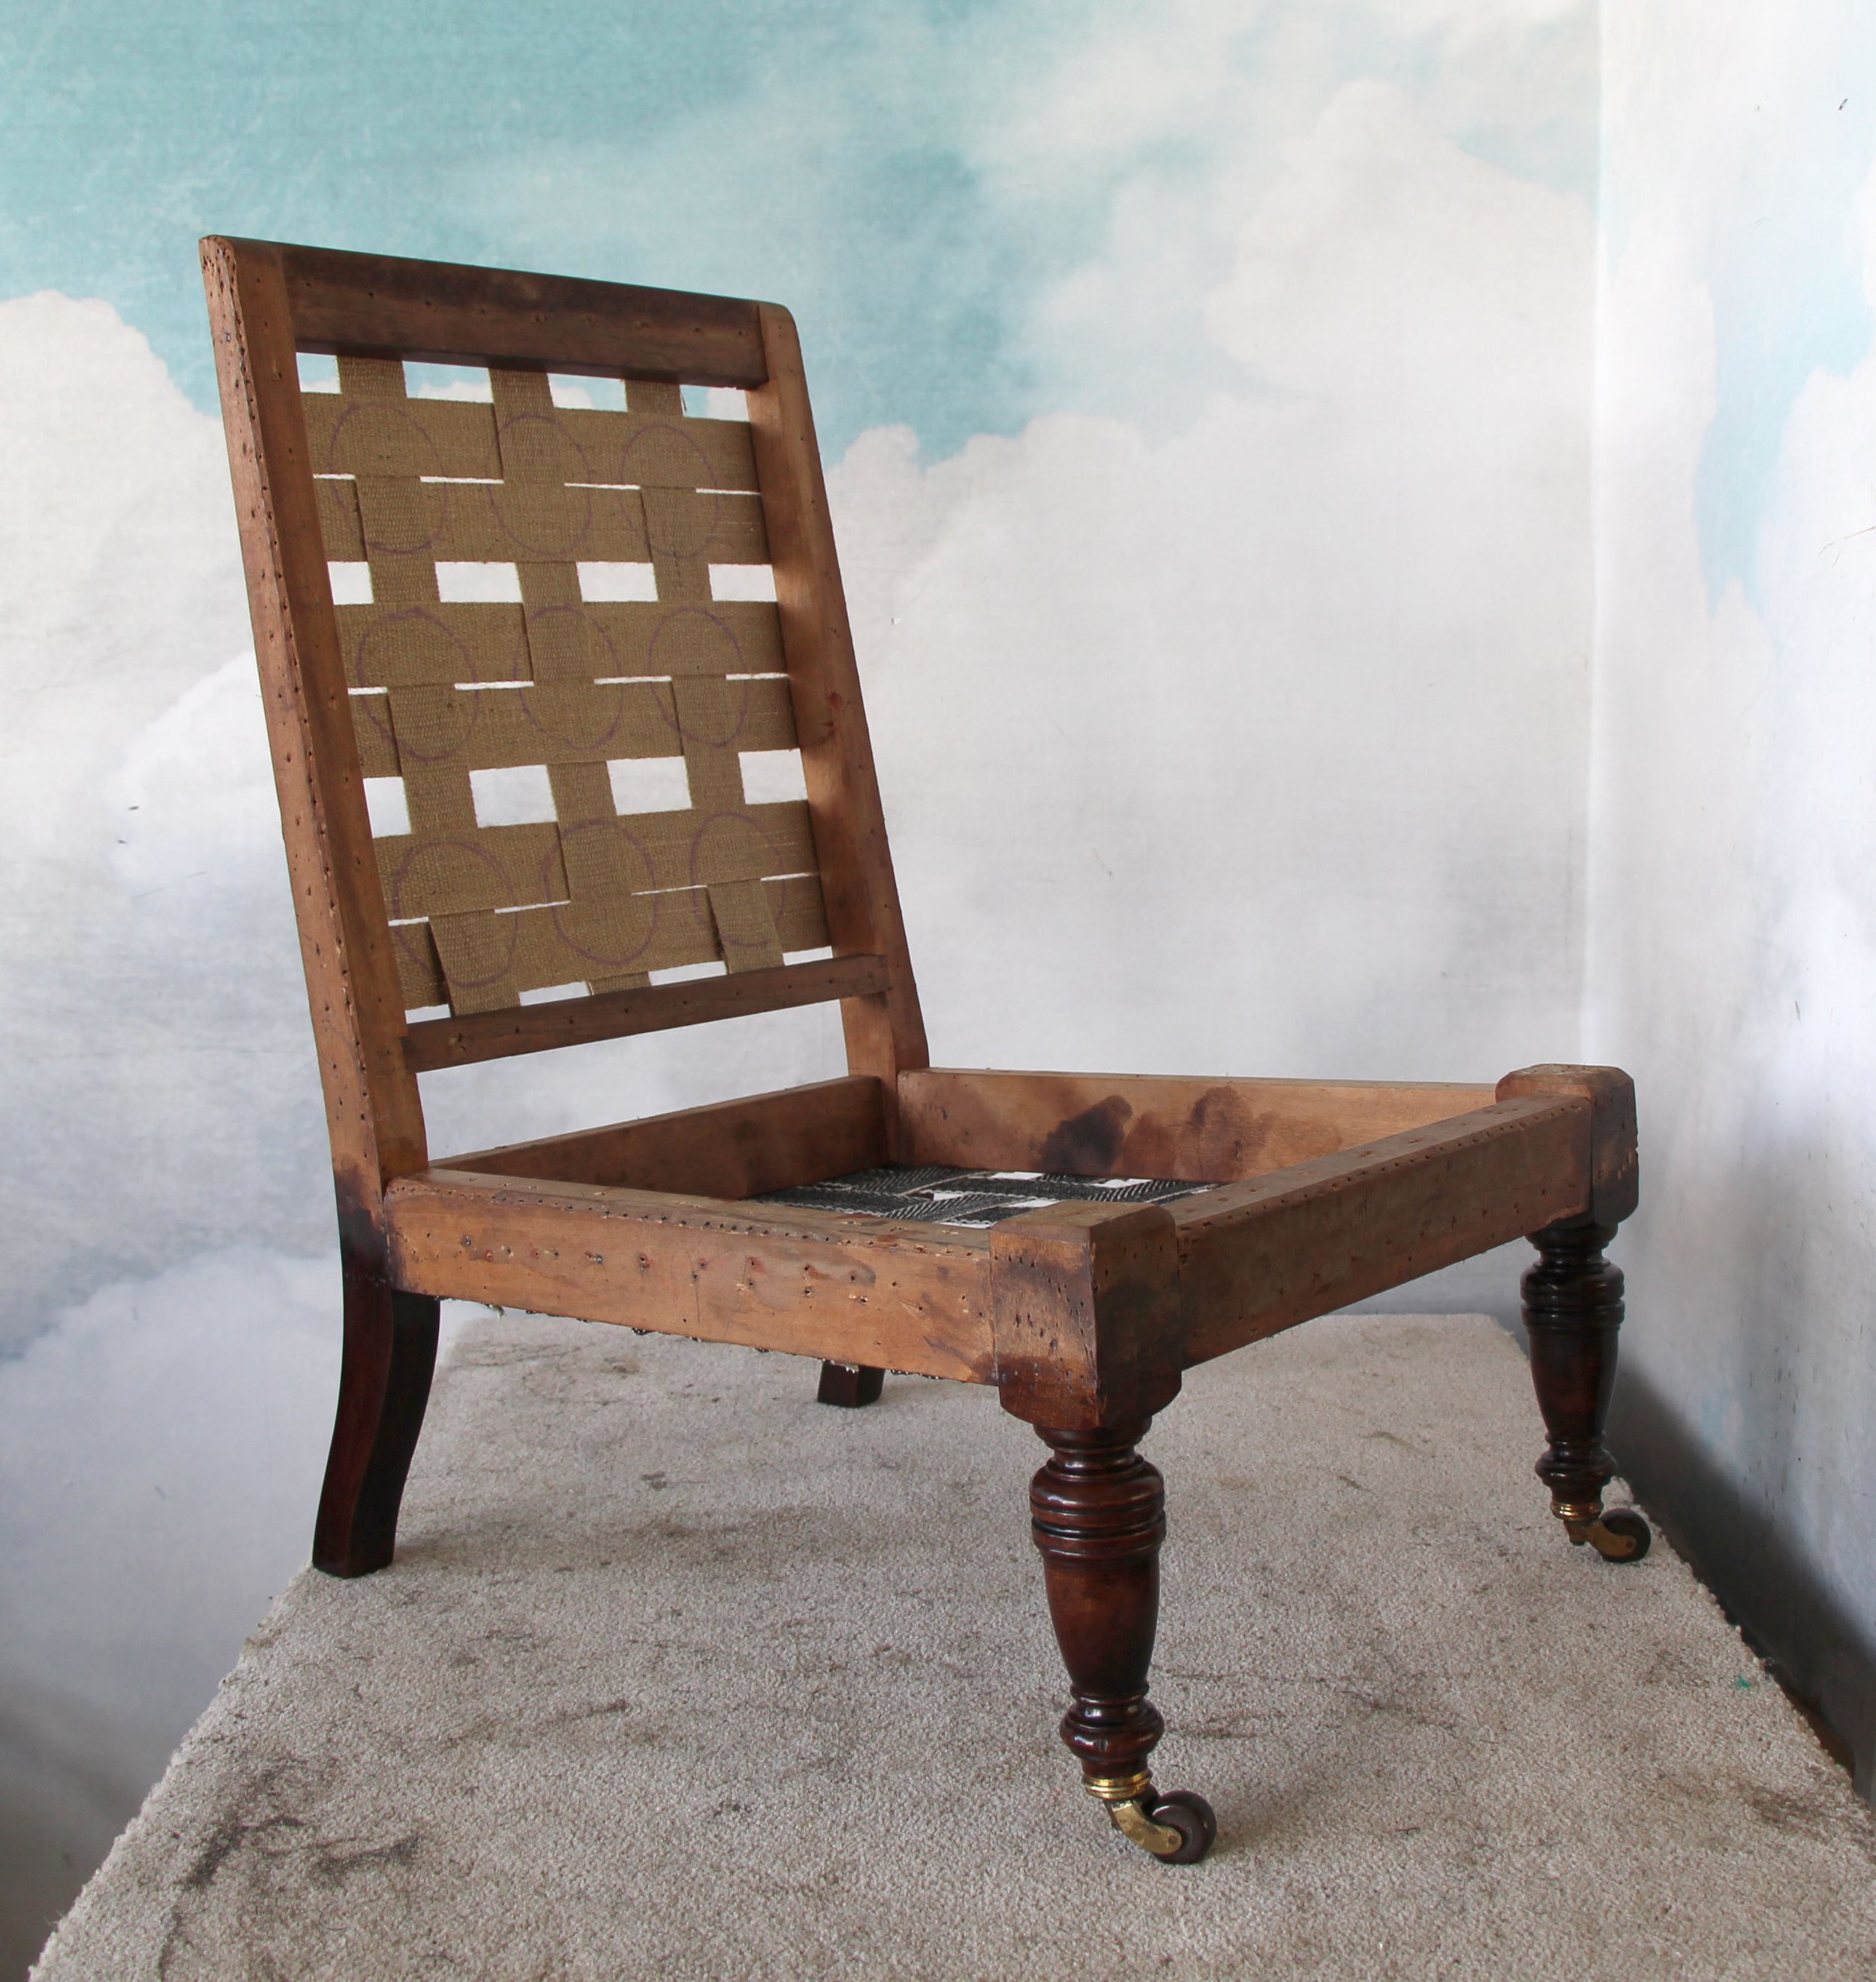
4.Webbing. Tightly woven strips of jute or linen are stretched across the frame to form a woven lattice. This provides strong, yet flexible support that can easily be repaired if one piece gives out. This black and white English webbing is woven with a dense twill structure which makes it stronger than the plain woven jute webbing commonly used in North America. This allows the webbing strips to be spaced farther apart, with fewer tack holes going into the antique frame.
5. Springs. Coil springs have been used in furniture since the early 19th century and they still provide great comfort and durability. Often the same springs can be reused in the chair. If one spring is bent or broken then a new set of springs with the appropriate height and gauge can be purchased. The springs are placed on top of the webbing and stitched in place. Laid cord is attached to the frame and tied to each spring at 8 points to form what is called an 8 way tie. This turns the spring unit into one solid platform holding everything in place.
6. First Hair Layer. The springs are covered with a heavy weight burlap and stitched to assure the hair doesn’t wear through over time. The hair gets balled up and stuffed into a series “bridle ties” to secure it in place. It is then regulated to remove any lumps and bumps and finally is molded into shape. A loosely woven layer of scrim linen or burlap covers the hair and gets tacked into the edge of the frame.
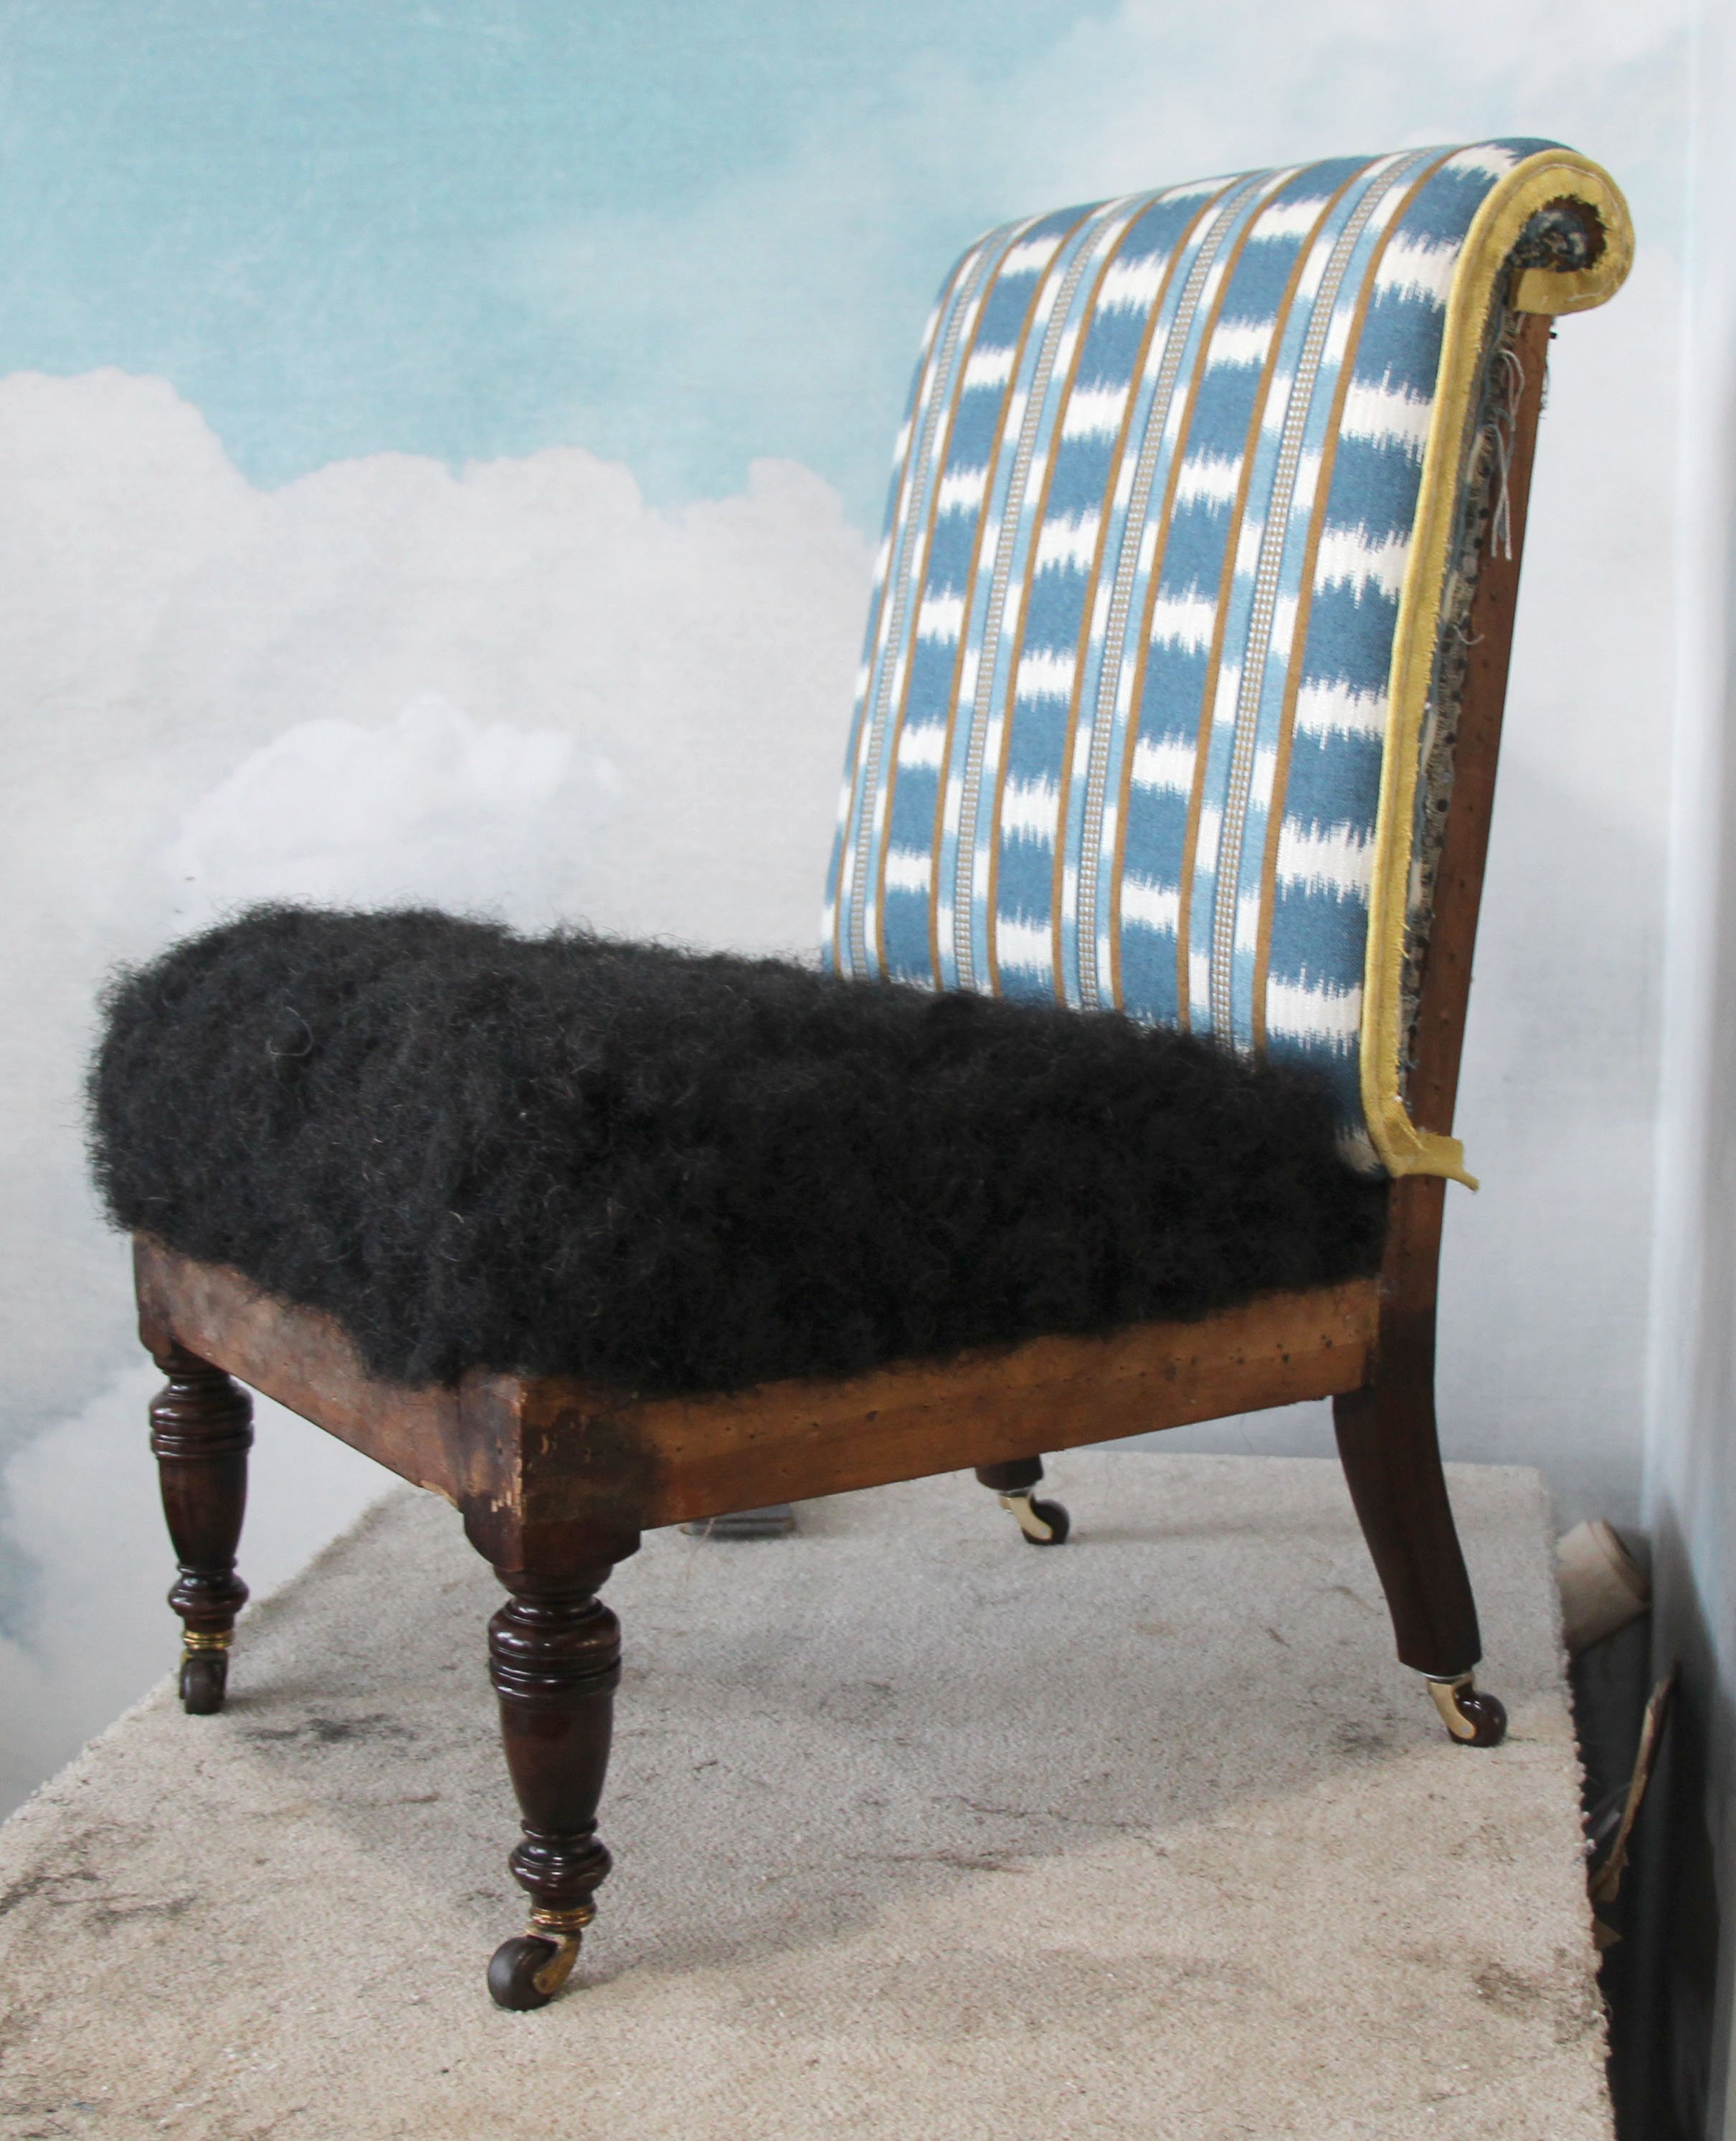
7. Second Hair layer. Once the first stuffing is finished a final hair layer is added to smooth out any lumps and bumps. Bridles are stitched into the top of the seat and stuffed with loose hair. While the first layer can be done with a more cost effective fiber such as coir, the second layer requires real hair to give the seat comfort and a slight spring. Cotton wadding is placed on top to as a barrier to avoid pieces of hair poking through the top fabric.
9. Top fabric. A layer of “skin wadding” is placed over the muslin. It is a very thin wool blend that prevents the top fabric from wearing against the muslin over time. The top fabric is temporary tacked in place, making sure any patterns are matched and naps are in the right direction. Once the fabric is permanently secured, a decorative trim can be added to finish the edges where the fabric meets the frame.
8. Muslin. Cotton muslin is stretched tightly over the seat and secured to the frame. This holds the fillings in place and is the last step towards molding the shape. Edges are smoothed and corners are bumped into place making sure that everything is symmetrical.


